
Group settings and location overrides
Some settings are shared by the whole group, some belong to each location, and a few are shared by default but can be changed for one location.
Set once for the whole group
These are set once for the group, and every location uses them unless it sets its own:
Set at each location
Each location's own Practice Settings hold:
- its name, address, phone and email;
- its timezone, which sets its currency and the hours patients can be texted;
- which email alerts it gets, and any extra address to copy them to.
Services, prices and team members belong to each location too. To set up several locations at once, see Copying setup between locations.
Ad conversion tracking
Add your Meta Pixel or Google Ads conversion in Group Settings. Each completed patient intake form is reported to it, whichever location the patient chose.
A location running its own ads can add its own tracking in its Practice Settings. Its patients are then reported to both. Each ad account only counts the conversion when the patient came from one of its own ads, so the group isn't credited for the location's ads, or the other way round.
Change a setting for one location
A location using the group's setting shows a blue bar on that card in its Practice Settings, with what the group has chosen.
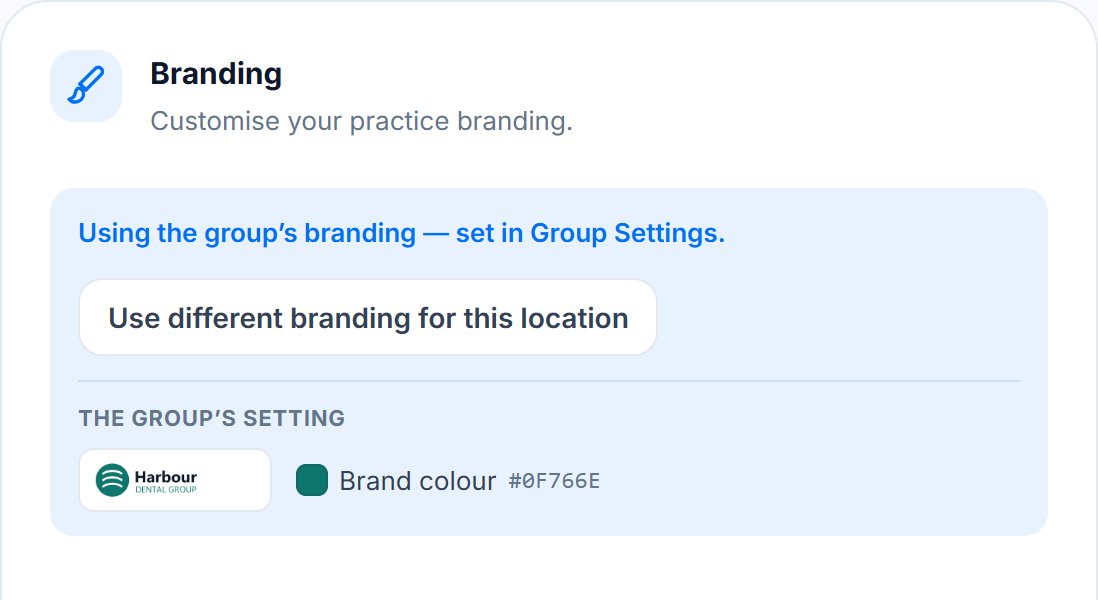
- Open the location and go to Practice Settings, or Social Proof for social proof and before/after photos.
- On the card, press the button to use a different setting, like Use different branding for this location.
- Make your changes and press Save changes.
Nothing changes until you save. Either the group admin or the location's own login can do this.
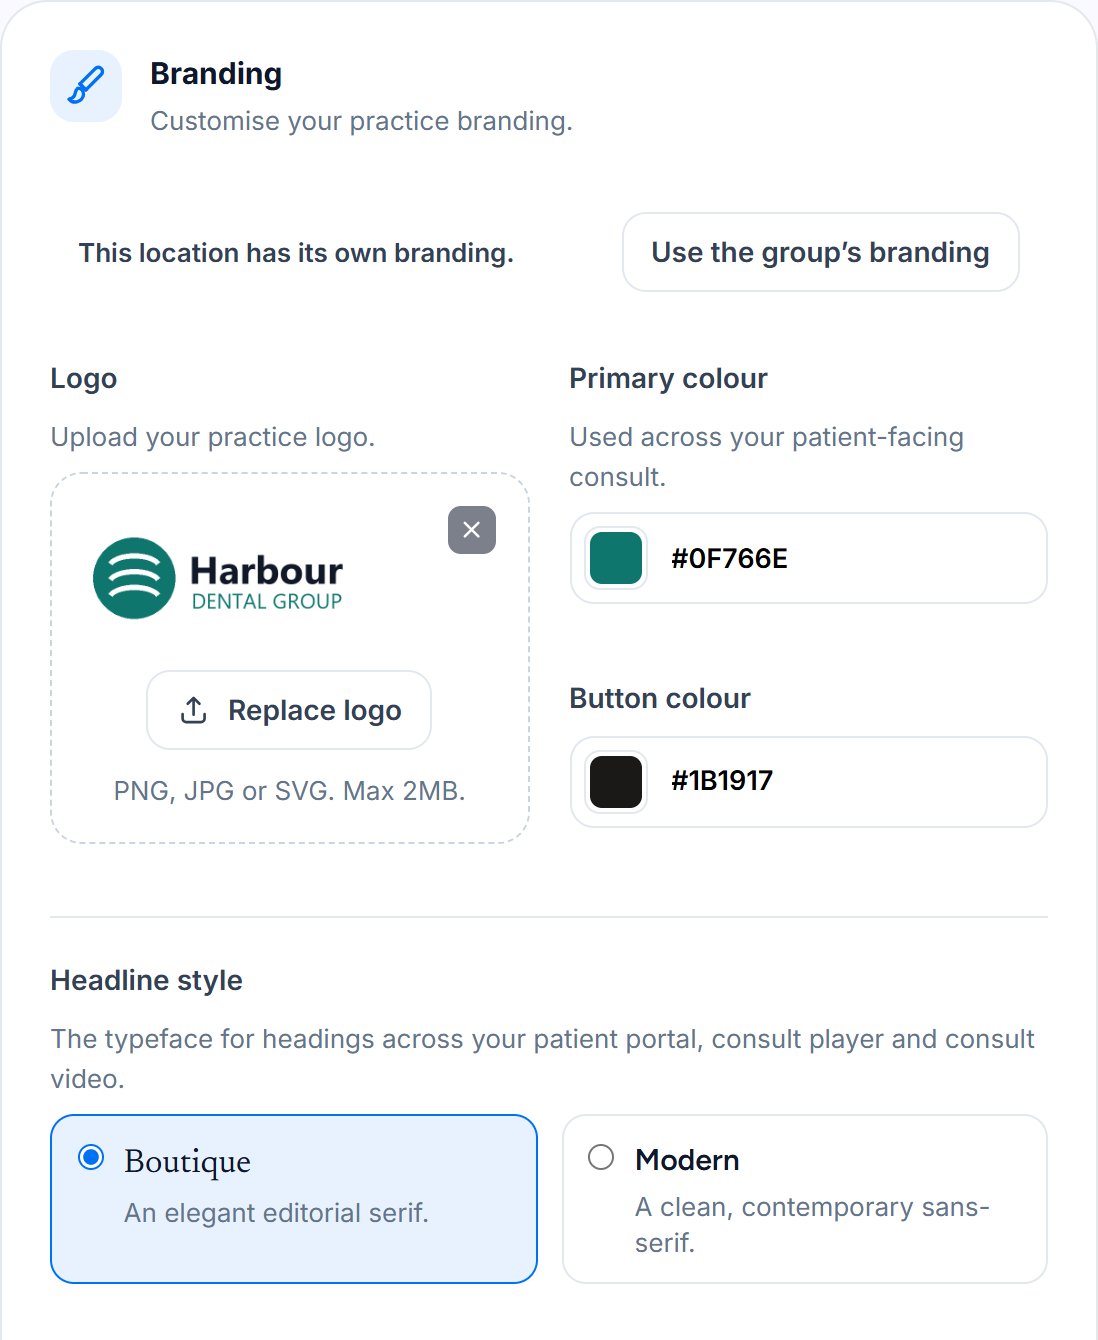
To go back, press the button to use the group's setting, like Use the group's branding, and save. The location's own version is kept, so you can switch back to it later.
See where each setting is decided
The last card in Group Settings, called “Where settings are decided”, lists each shared setting and which locations use their own.
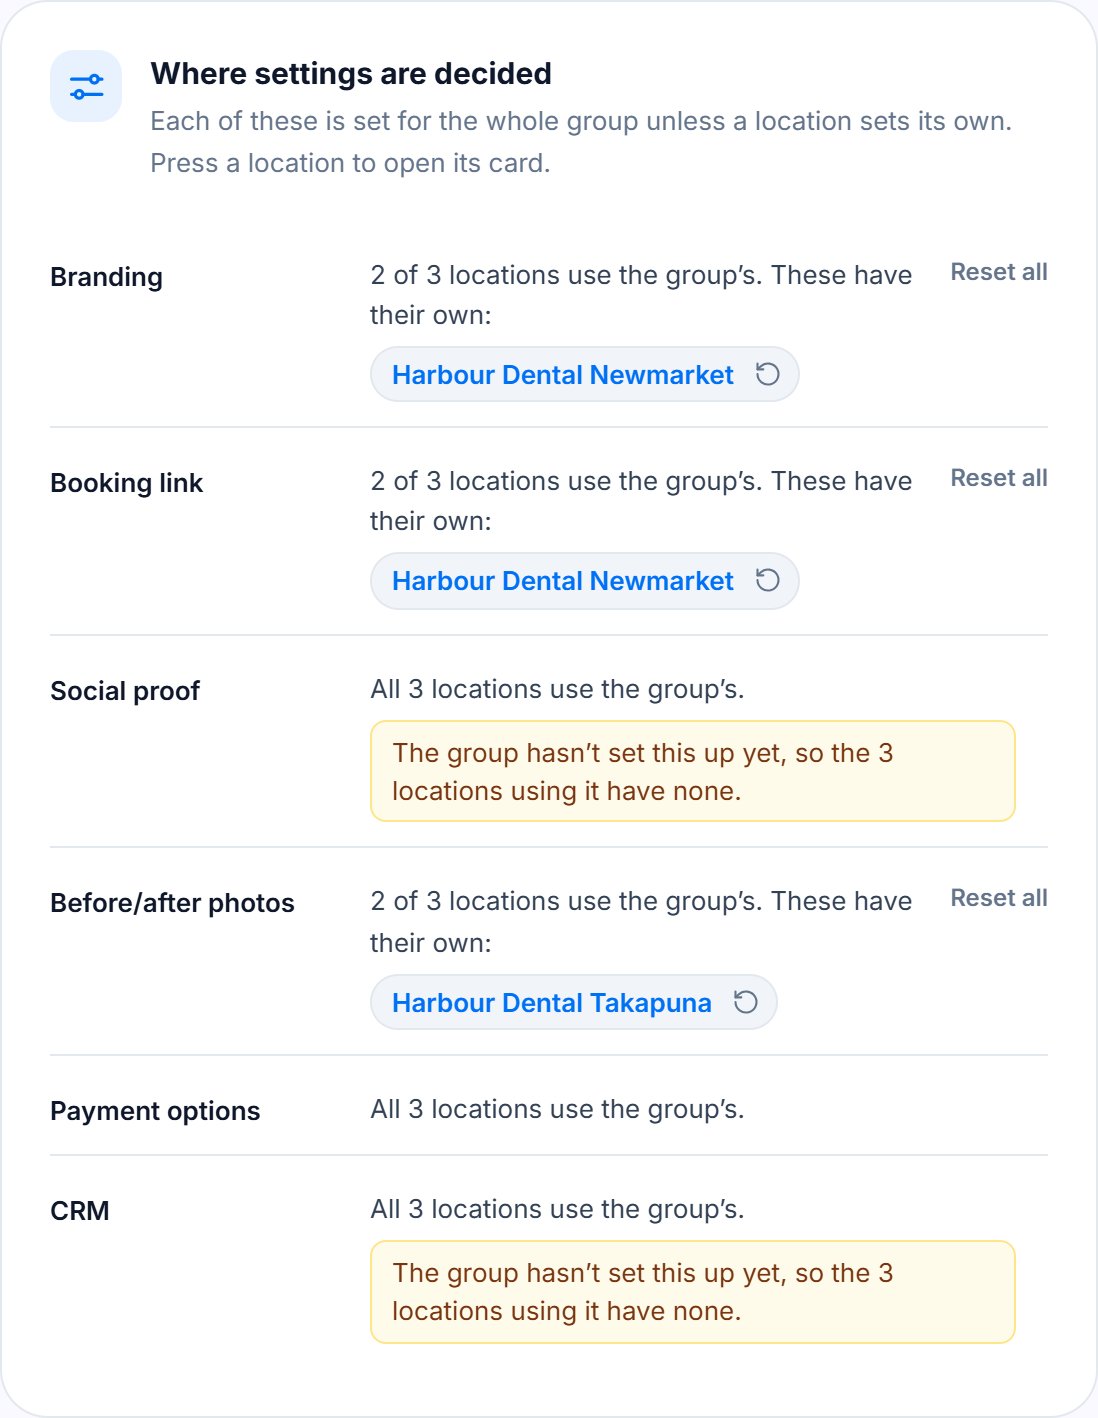
- Press a location's name to open that card in its settings.
- Press the arrow beside a name to put just that location back on the group's setting.
- Press Reset all to put every location back on the group's setting.
A yellow note means the group hasn't set that one up yet, so the locations using it have none. Set it up in Group Settings, or give those locations their own.
Message us from your dashboard and we’ll get back to you as soon as possible.