
Generated video vs personal video
You choose how each consultation is delivered under 5. Delivery method on the grading screen.
Which should I use?
Each one suits a different situation.
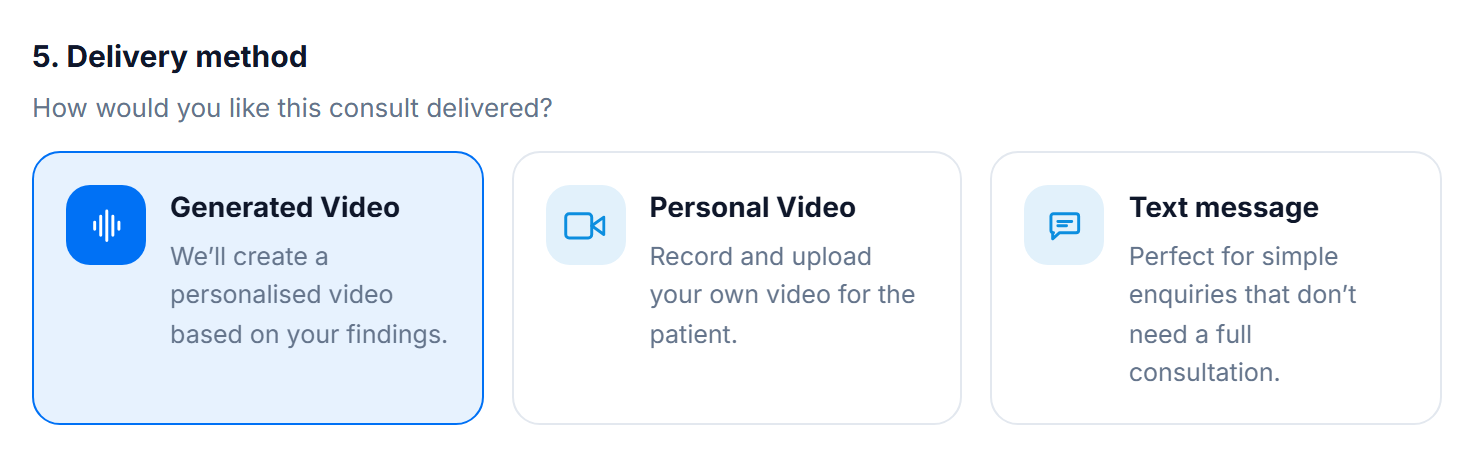
Generated Video
We turn your findings into a personalised, narrated video. You check the findings and the script, and we put the rest together for you.
Needs: the team member's welcome video, and at least one finding. If they haven't recorded a welcome video yet, this option is greyed out with a link to record one.
1. Check your findings
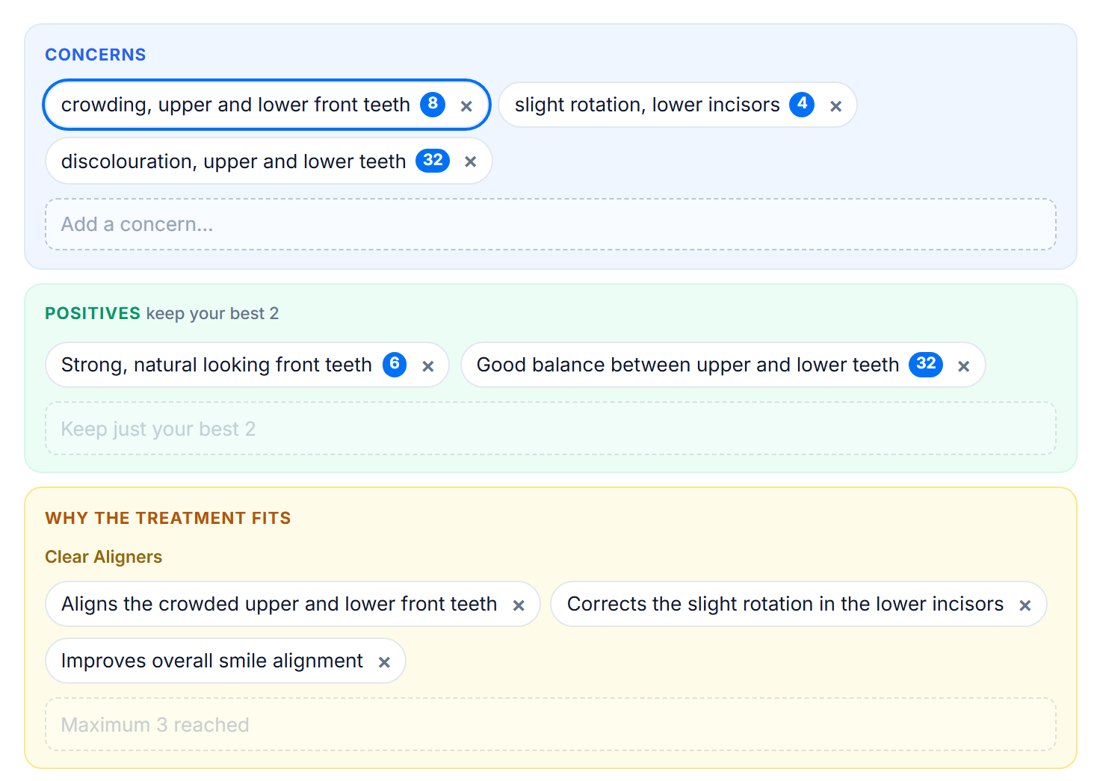
The AI drafts your findings from the patient's photos. There are three kinds:
- Concerns (up to 4): what could be improved. Each one is read out in turn and shown on the teeth map.
- Positives (up to 2): what's already good about their smile, so the video feels balanced and reassuring.
- Why the treatment fits (up to 3 per treatment): how each treatment you recommend helps this patient.
You can edit, reorder, delete or add findings, and mark the teeth each one is about. See Using the teeth map.
2. Preview the spoken script
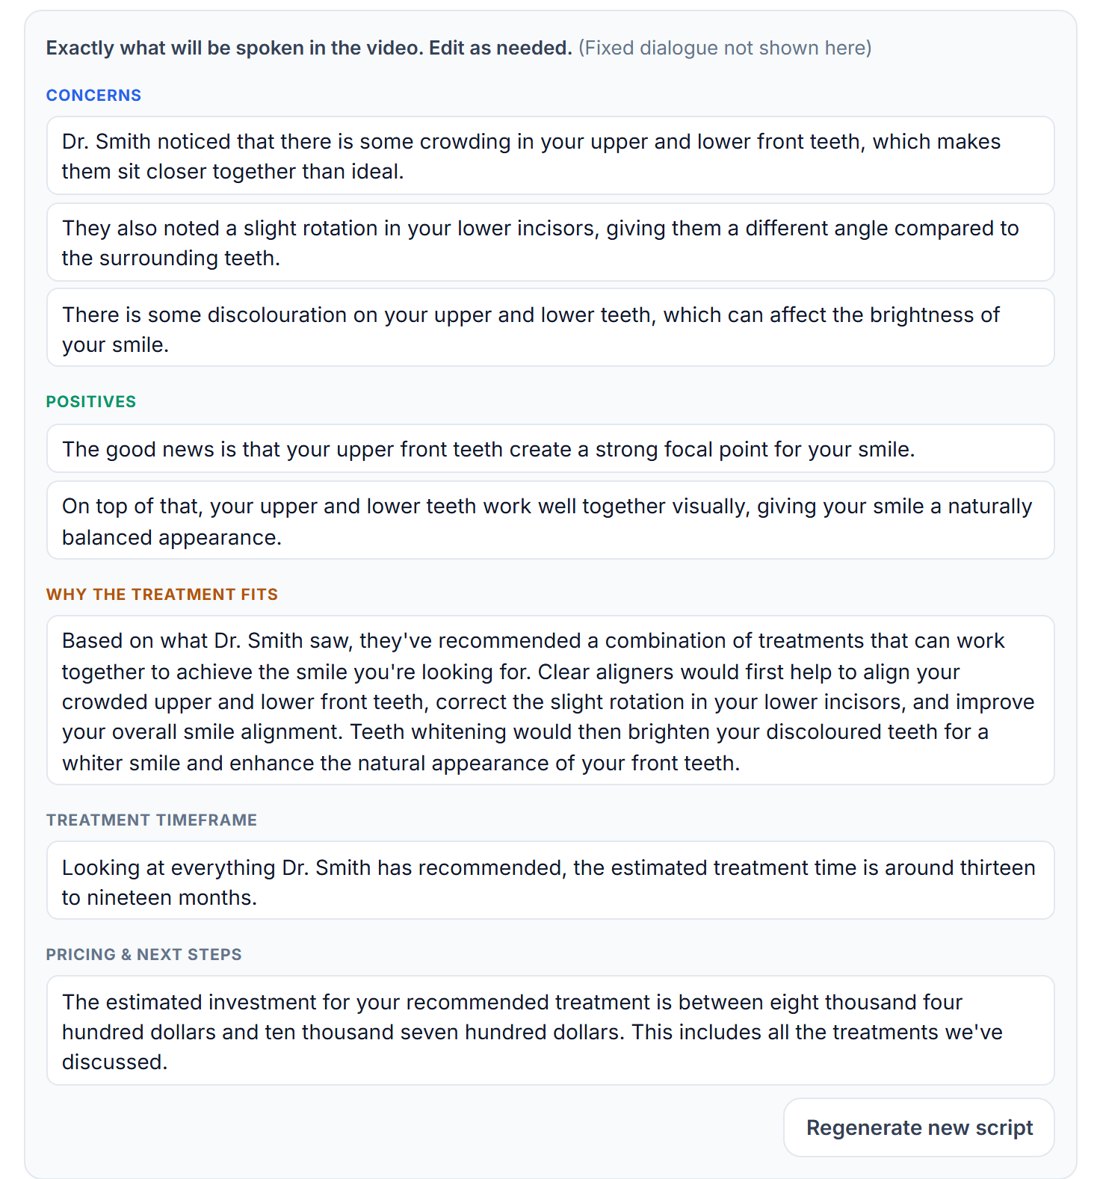
Press Preview spoken video script to see how your findings become the words in the video:
- each concern and positive gets its own line
- the reasons a treatment fits are combined into one paragraph about your recommendation
- the timeframe and price get a line each
Every line shown is read out over the graphics. Click any of them to change the wording, and your version is what's said. Fixed lines, like Ben's introduction, are added between them. They aren't shown here and can't be changed.
3. How the video is put together
When you send, we build the video in this order:
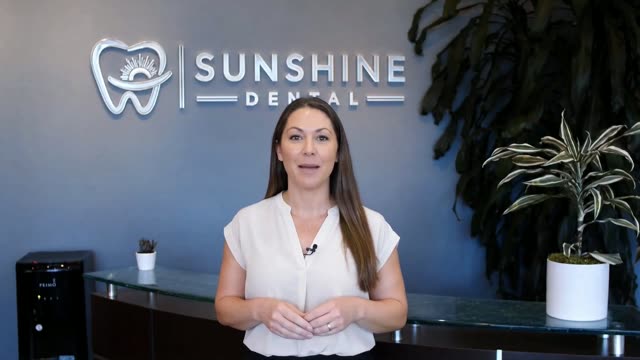
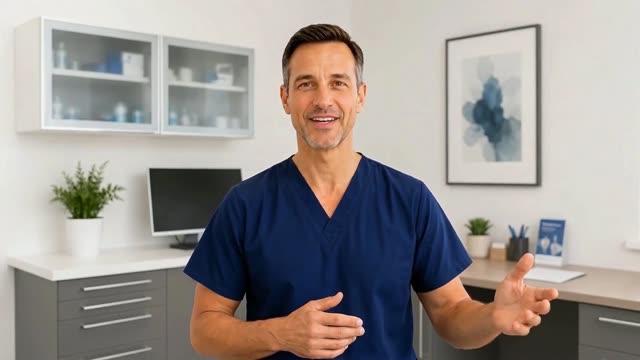
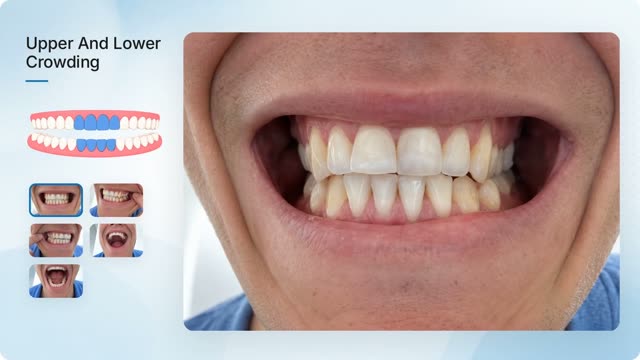
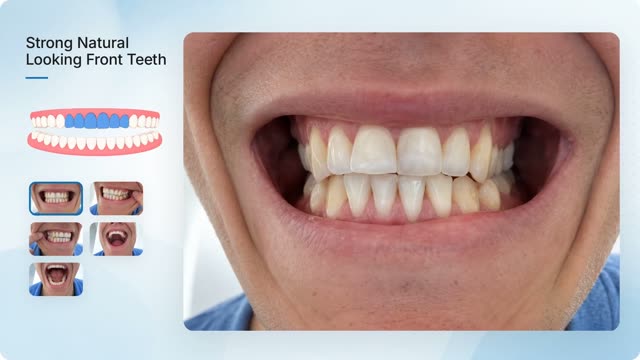
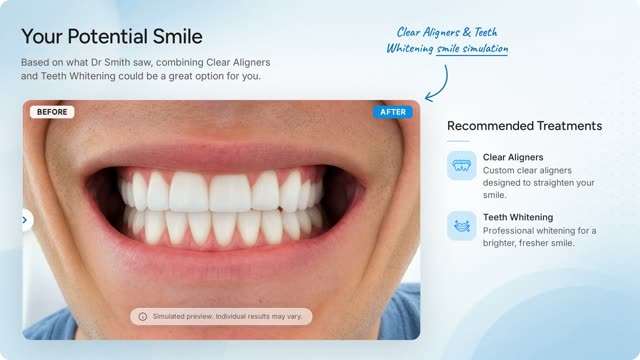
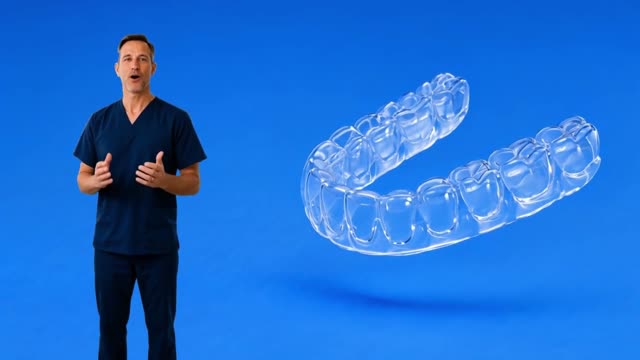
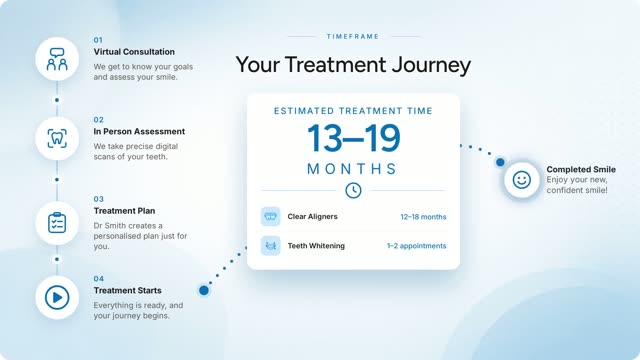
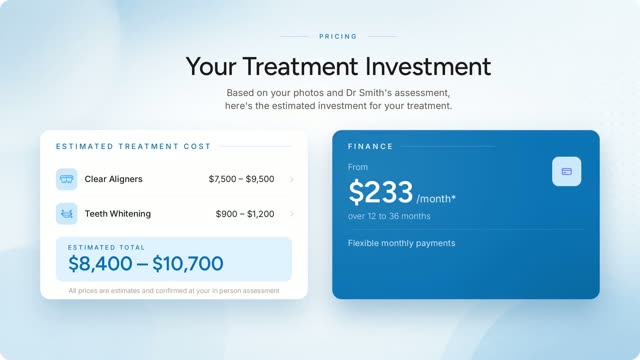
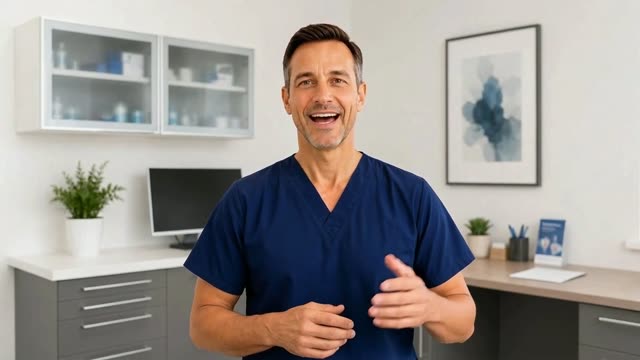
Takes: about 5 minutes to prepare after you send. The patient is notified when it's ready.
Personal Video
You record or upload your own video. We add subtitles, then the explainer videos for the treatments you recommend.
1. Choose whether to show a teeth map
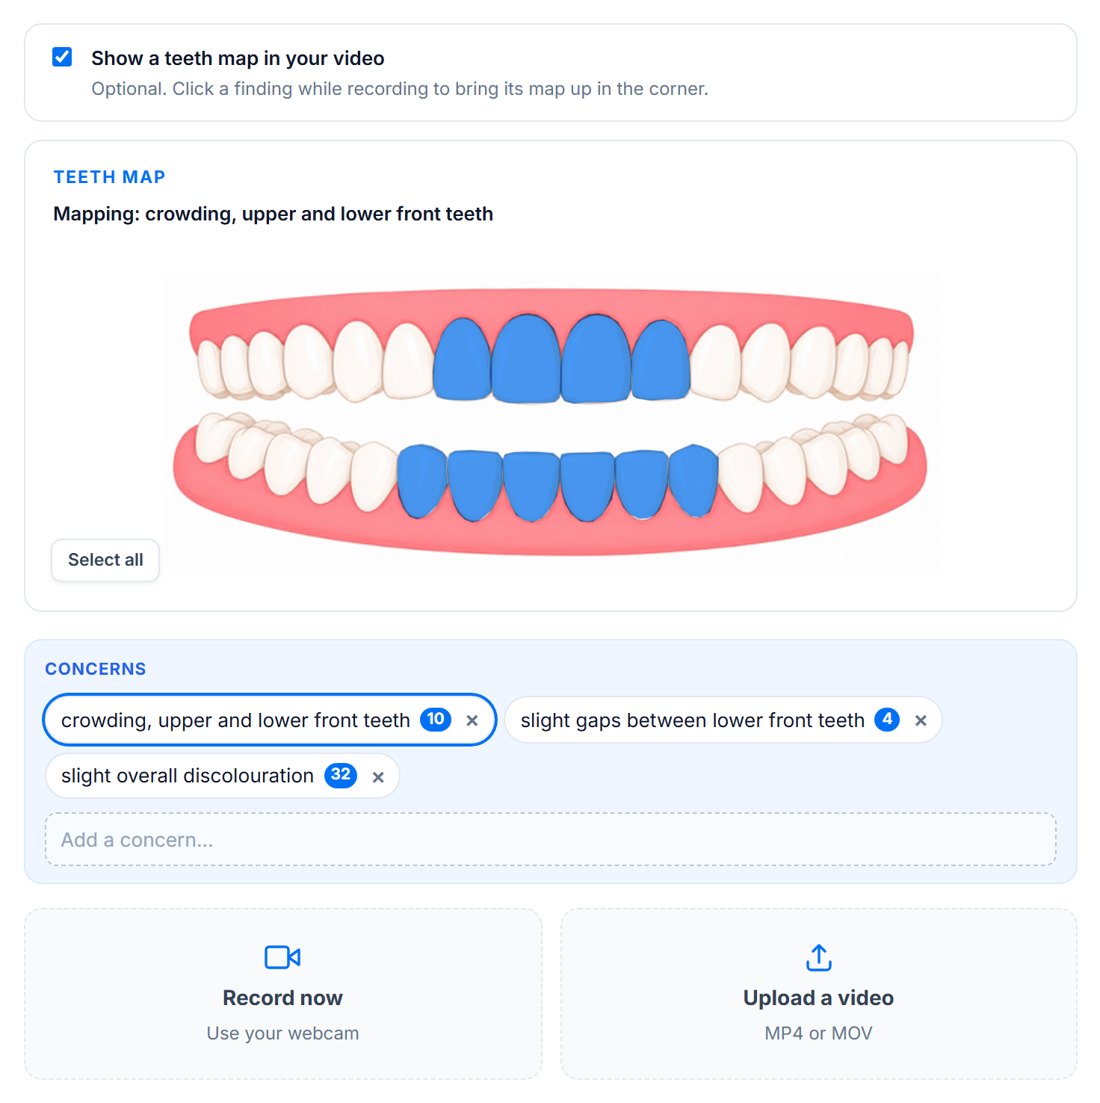
Tick Show a teeth map in your video before you start. Your concerns appear underneath, so you can check them and map their teeth first. See Using the teeth map.
2. Record or upload
Press Record now to use your webcam, or Upload a video (MP4, MOV or WebM, up to 500 MB).
Talk the patient through what you noticed, what you recommend and what happens next.
3. Show cards while you record
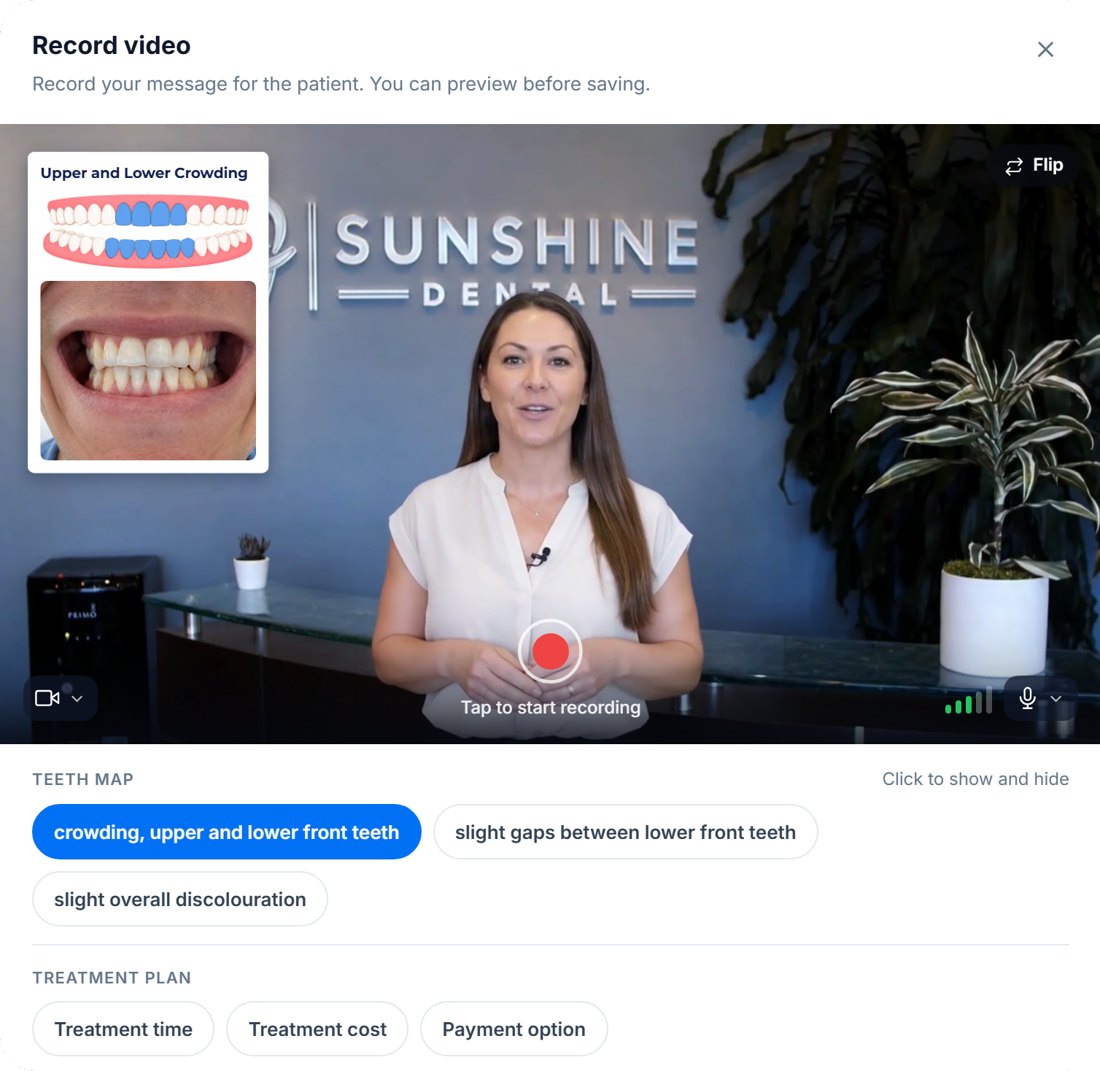
Under the camera you'll see buttons you can click while you talk:
- Teeth map: each concern you've mapped. Click one and its teeth map appears in the top corner of your video.
- Treatment plan: Treatment time, Treatment cost and Payment option.
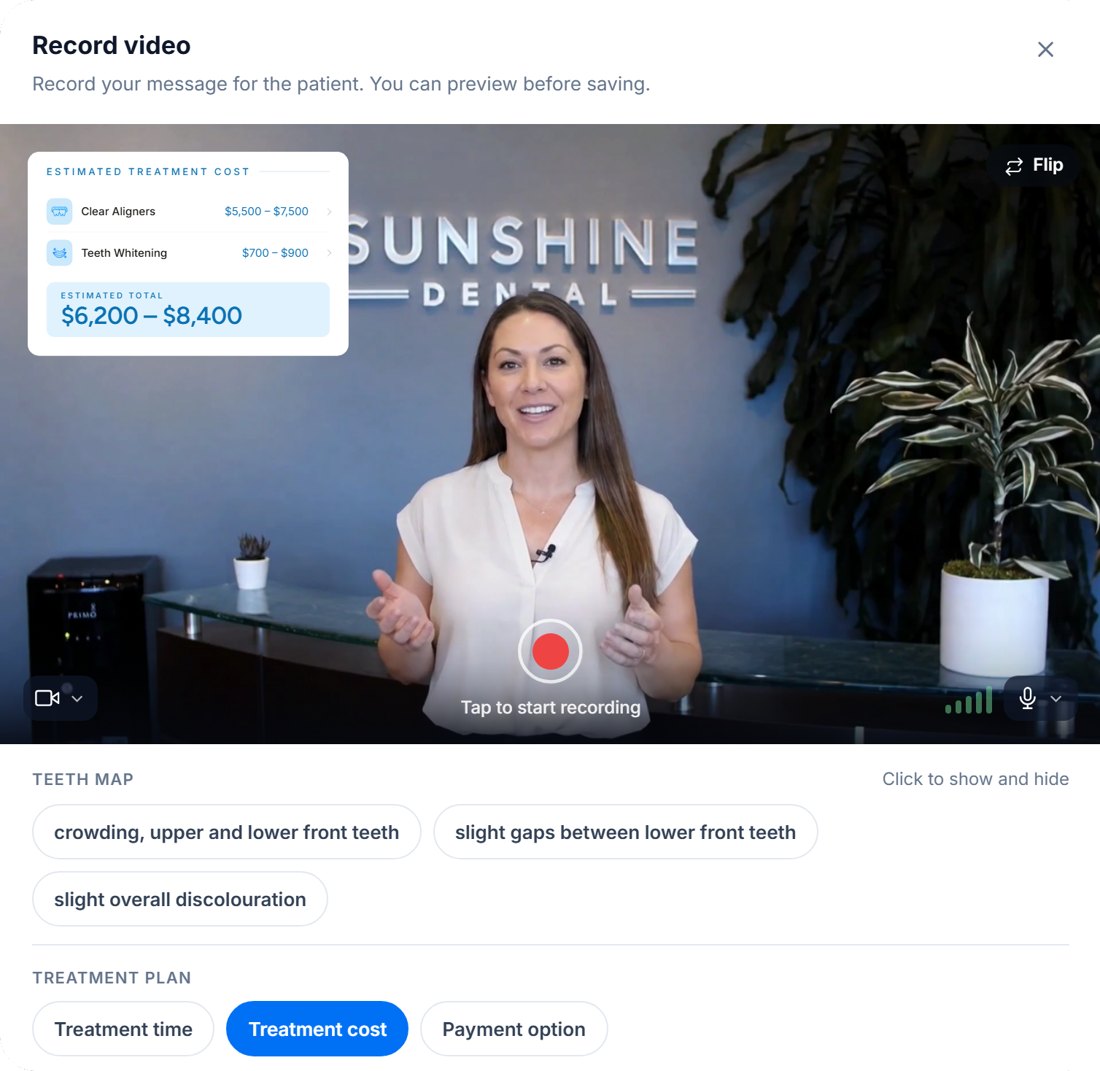
Click the same button again to go back to just you. Only one card shows at a time, and you see exactly where it will appear while you record.
When you stop, watch it back. Press Re-record to try again, or Use this video to keep it.
4. How the video is put together
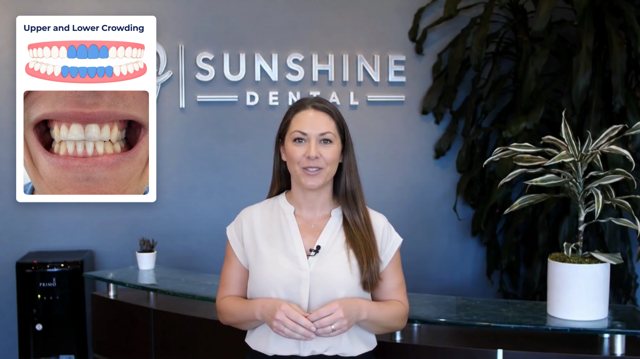
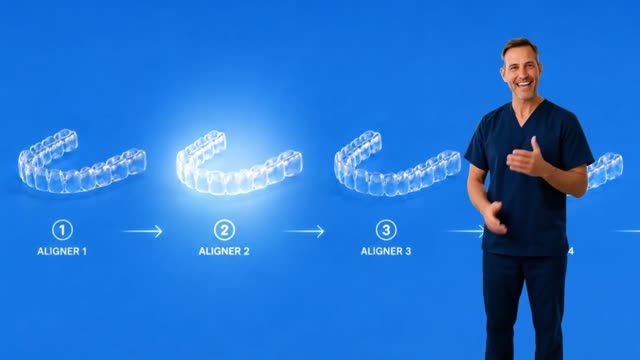
Takes: a couple of minutes to process after you send.
Text message
For simple enquiries that don't need a full consultation. Write your reply and it's sent by text and email exactly as written. There's no video and no patient portal. The patient shows as Replied.
Message us from your dashboard and we’ll get back to you as soon as possible.